Contents
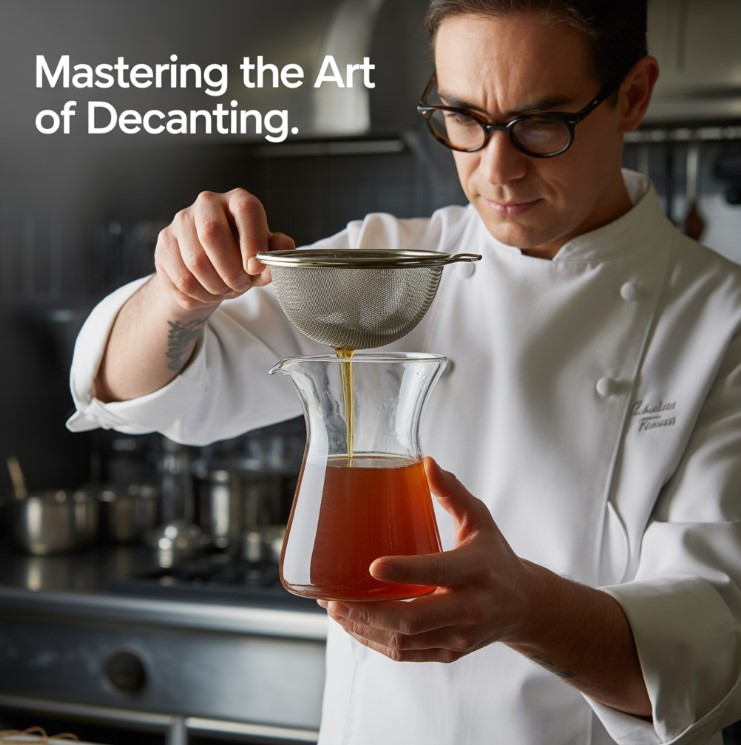
Mastering the art of decanting and other pouring techniques for clarifying liquids is the key to superior sediment separation, boosting kitchen efficiency, and achieving food waste reduction by using methods like siphoning liquids to maximize yield.
We have all faced the Decanter’s Dilemma. You’ve spent hours simmering a perfect chicken stock, or days patiently steeping a rich cold brew concentrate. You go to pour it, carefully, slowly, but that inevitable moment arrives. To get the last precious drops, you risk unleashing a murky cloud of sediment, ruining the pristine liquid. So you stop, leaving behind what we call the “sacrificial layer”—a flavorful, valuable portion of your work destined for the drain. This isn’t just a minor annoyance; it’s a fundamental problem of kitchen physics, a battle against gravity and particulates that costs us flavor, money, and time.
But what if you could win that battle? What if you could reclaim that sacrificial layer, reducing it by 50% or more, without fancy filters or expensive equipment? This is not about just learning a new trick. It is a new way of seeing your kitchen. A laboratory for mindful mastery.
The Kitchen-Counter Physics of a Perfect Pour
The challenge is not simply to separate a solid from a liquid. It is to do so with grace and precision. The enemy is sediment: fine coffee grounds in a pouring French press, dormant yeast in a bottle conditioned beer, tiny protein solids in a clarifying soup stock, or the natural lees in an unfiltered wine. When disturbed, these particles create a cloudy, gritty, and often bitter experience.
Our goal is optimization. We want the maximum amount of clear liquid with the minimum amount of sediment transfer. To achieve this, we don’t need magic; we need to pull the right levers of control. We’re not just guessing here; we’re applying a systematic approach. By understanding a few basic principles of fluid dynamics and geometry, we can transform a frustrating chore into a satisfying craft.
The four levers of control are:
- Geometry: Control the shape of your container.
- Temperature: Control the viscosity of your liquid.
- Technique: Control the process of your pour.
- Tools: Control the method of transfer.
Lever 1: Geometry — The Shape of Victory
Does container shape matter when decanting stock? Absolutely. It might be the single most impactful, and most overlooked, variable in achieving a clean separation.
Imagine your sediment is a crowd of people. In a wide, shallow bowl, the crowd is spread out, thin, and easily startled. A small tilt of the bowl creates a wide wave that stirs everyone up. Now, picture that same crowd in a narrow, tall elevator. They are packed together tightly at the bottom. You can tilt the elevator quite a bit before the people at the top even notice.
This is the principle at work.
- Hypothesis: A tall, narrow container will create a more compact, stable sediment layer than a wide, shallow one, leading to a higher yield of clear liquid.
We ran a test, the “Stock Showdown.” We chilled two identical batches of homemade chicken stock. One was chilled in a wide mixing bowl, the other in a tall, narrow pitcher.
- The Result: The sediment in the bowl covered the entire bottom, a loose, silty minefield. The pour had to be stopped with nearly 20% of the liquid left to avoid disaster. In the tall pitcher, the sediment settled into a dense, compact puck at the bottom, occupying a tiny footprint. We could pour confidently until only about 5-7% of the total volume remained. A massive reduction in the sacrificial layer.
The takeaway: When you let liquids settle, always choose the tallest, narrowest vessel you have. A simple glass pitcher, a large Mason jar, or even a stockpot works far better than a wide bowl for clarifying soup stock or other homemade broths.
Lever 2: Temperature — The Power of the Chill
How does chilling soup help separate the fat and solids? The answer lies in a single word: viscosity. Viscosity is simply a measure of a liquid’s resistance to flow. Honey is more viscous than water. By chilling a liquid like stock or even rendered bacon grease, you increase its viscosity.
Think of it like this. The sediment particles are swimmers in a pool. In warm, thin water, they can move around freely. A little turbulence and they’re everywhere. But if you chill that pool until it’s thick and syrupy, the swimmers are practically frozen in place. They become lazy, locked into their position at the bottom.
This simple act of chilling to separate liquids is a game-changer.
- For clarifying soup stock or homemade broth: An overnight chill not only solidifies the fat on top for easy removal but also dramatically increases the liquid’s viscosity, gluing the fine solids to the bottom. Your pour the next day will be remarkably cleaner.
- To get clear bacon grease: After rendering, let the pan cool slightly and pour the grease into a jar. Let it settle for 10-15 minutes. Then, instead of pouring directly from the pan where the sediment is wide and loose, you can decant the clearer top layer. Chilling it further will make the separation even more distinct, allowing you to get perfectly clear bacon renderings for cooking.
Lever 3: Technique — The Art of the Pour
Your pouring motion itself is a critical variable. A jerky, hesitant pour is your worst enemy. It creates internal currents that churn up the very sediment you’re trying to leave behind. Think of the sediment like sleeping dragons. Our goal is to sneak the treasure (the liquid) out of the cave without waking them.
The Golden Rule of Pouring: Start the pour slowly and commit to a single, smooth, uninterrupted motion. Find your angle and hold it. As you near the end and see the first wisps of sediment approaching the spout, stop. Decisively.
For Daily Doses: The Double Decanting Method
This technique is revolutionary for anyone who wants to avoid cloudy coffee. Are you tired of that final, gritty sip from your French press? How to pour French press without sludge at the bottom? Use the double decant technique for clear coffee.
- After brewing, press the plunger as usual.
- Immediately—don’t let it sit—pour the entire contents of the French press, sludge and all, into a second vessel, like a pitcher. Use a smooth, confident motion.
- Let it sit for just 30-60 seconds. The fine particles, which were in suspension, will quickly fall to the bottom of the new pitcher.
- Now, pour your coffee from the pitcher into your mugs. You’ll find you can pour almost every last drop, leaving a tiny, concentrated layer of sludge behind.
This method works wonders for any beverage with fine particulates and is a brilliant answer to the question “Why is my homemade cold brew cloudy after pouring?”
Lever 4: Tools — The Siphon Solution
When your priority is maximum yield—when every drop of that high-effort cold brew sediment or expensive natural wine sediment counts—pouring will always fail you. Pouring relies on tilting, and tilting guarantees disturbance. For ultimate precision, you need a different tool. You need a siphon.
A siphon is the ultimate surgical tool for this operation, while free-pouring is more like using a sledgehammer. How to use a siphon for food in the kitchen is surprisingly simple. You just need a length of food-grade tubing.
Is it better to siphon or pour bottle-conditioned beer? For a beer where the yeast is a critical part of the flavor profile, you might want to rouse it. But for a clean, crisp pour that leaves the bottle conditioned beer yeast behind, a siphon is unbeatable. It allows you to draw the clear beer directly from the top, leaving the yeast cake completely undisturbed.
Step-by-Step Guide to Siphoning Cold Brew Off the Grounds:
This is the best way to get all the liquid from cold brew concentrate without introducing grit.
- Setup: Place your container of settled cold brew concentrate (after chilling, of course!) on a counter. Place an empty, clean receiving jar on a lower surface, like a chair or the floor. Gravity is your friend.
- Prime the Siphon: Submerge one end of the food-grade tube into the cold brew, keeping it near the surface. To start the flow, you can either fill the tube with water first (and discard the initial watery output) or use a clean auto-siphon pump if you have one. The simplest way is to carefully suck on the lower end until the liquid is about to reach your mouth, then quickly drop that end into the receiving jar.
- The Transfer: Keep the “in” end of the tube just below the surface of the liquid. As the level drops, slowly lower the tube with it, always staying above the sediment layer.
- The Finish: You will be astonished at how much liquid you can pull off. You can get right down to the last fraction of an inch above the sludge.
Siphoning liquids might seem like overkill, but for tasks like maximizing yield when clarifying bacon renderings or minimizing waste when decanting natural wine, it can recover an additional 10-15% of your product. That’s another cup of coffee, another serving of wine. That’s a real victory against the sacrificial layer.
Your Decanting Decision Guide
So how do you choose? It’s a balance of effort and reward.
- If your liquid is high-volume and low-cost (like stock or broth) and your priority is speed: Your best levers are Geometry & Temperature. Chill it overnight in a tall pitcher, then pour confidently. You’ll get great, not perfect, results with minimal fuss.
- If your liquid is a daily ritual (like French press or tea) and your priority is clarity with low effort: Your best lever is Technique. Use the Double Decanting method. It adds 60 seconds to your routine but yields a perfectly clean cup every time.
- If your liquid is low-volume and high-value (cold brew concentrate, natural wine, craft beer) and your priority is absolute purity and maximum yield: Your best levers are Tools & Technique. Perform a primary pour of the easy stuff, then bring in the siphon to surgically rescue the rest from the clutches of the Decanter’s Dilemma.
By mastering these levers, you are doing more than just improving your pouring. You’re reducing food waste, you’re honoring the effort you put into making something special, and you’re elevating a simple kitchen chore into a moment of mindful craft. The sacrificial layer no longer needs to be a tax on quality. It can be a puzzle you’ve solved.
